This guide is an introduction to DiscoLog. It will guide you through the setup of DiscoLog and how to use it.
The first step is to add DiscoLog to your applicaiton is to declare the package as a dependency in your mix.exs file.
defp deps do
  [
    {:disco_log, "~> 1.0.0"}
  ]
end
Then run the following command to fetch the dependencies.
mix deps.getYou need to register a Discord Account
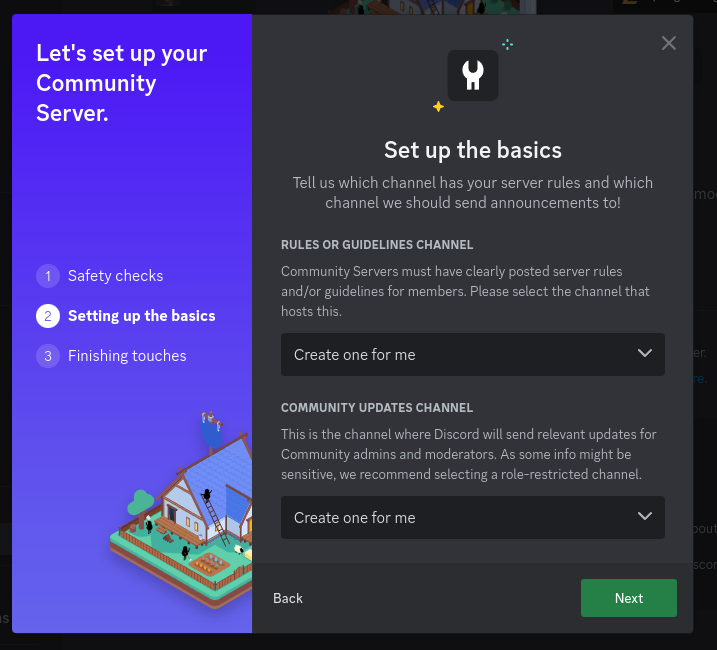
A Discord community server needs to have a forum-type channel, which we use for error tracking.
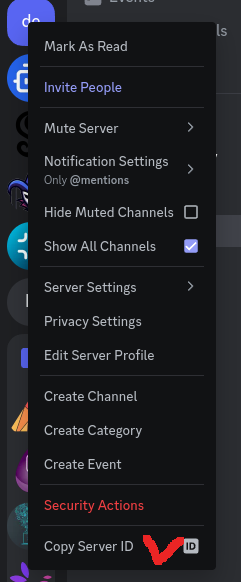
Right-click on the server and select Server Settings > Community Settings
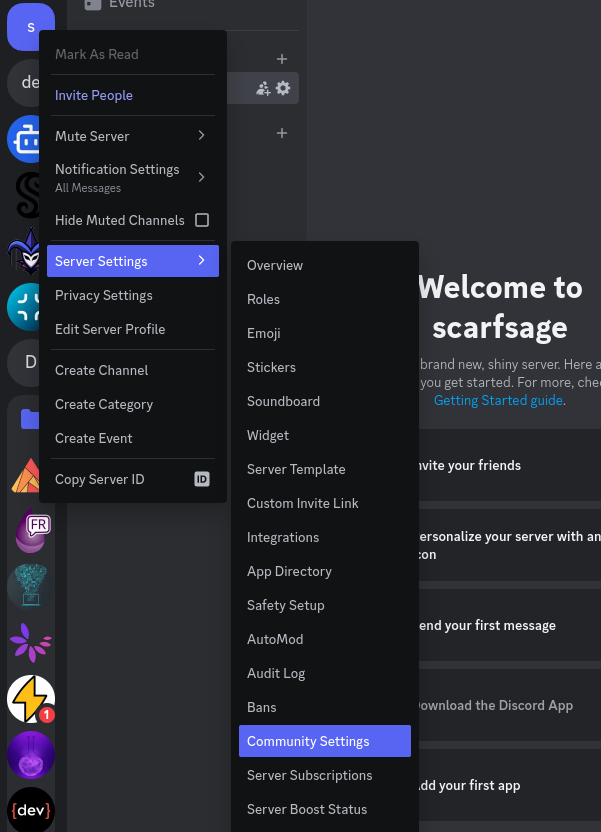


Copy the server ID, it will be needed later
+If you don't see Copy Server ID in the UI, enable developer mode in Settings -> Advanced -> Developer Mode.
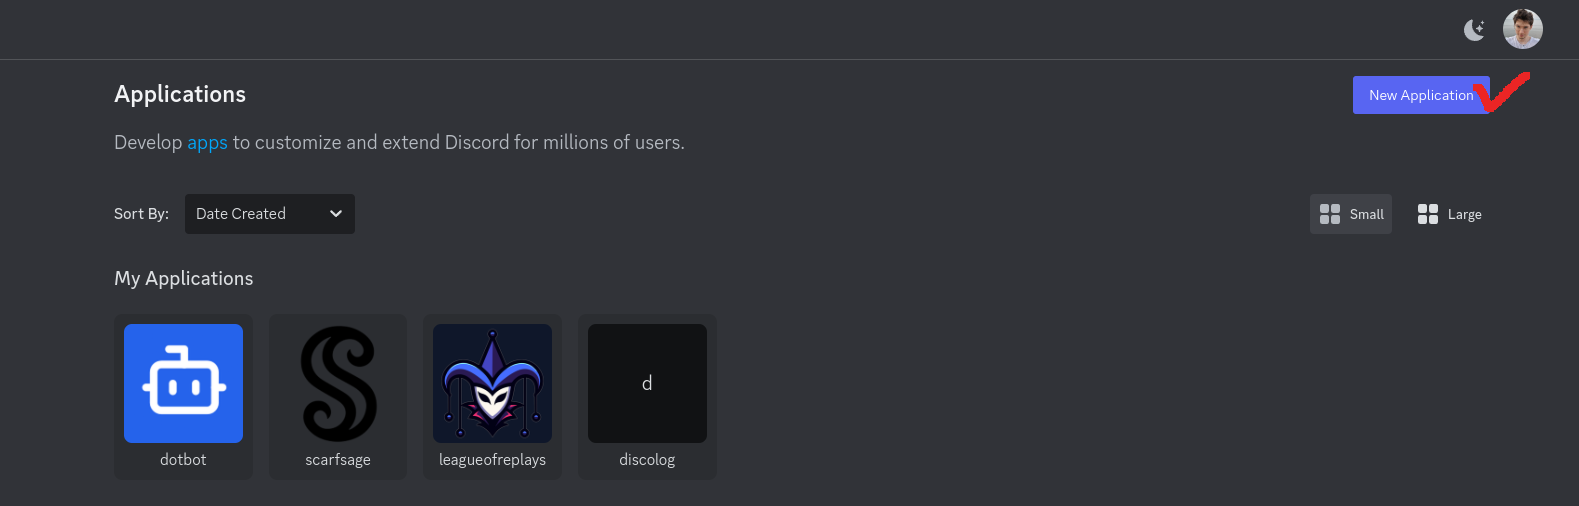
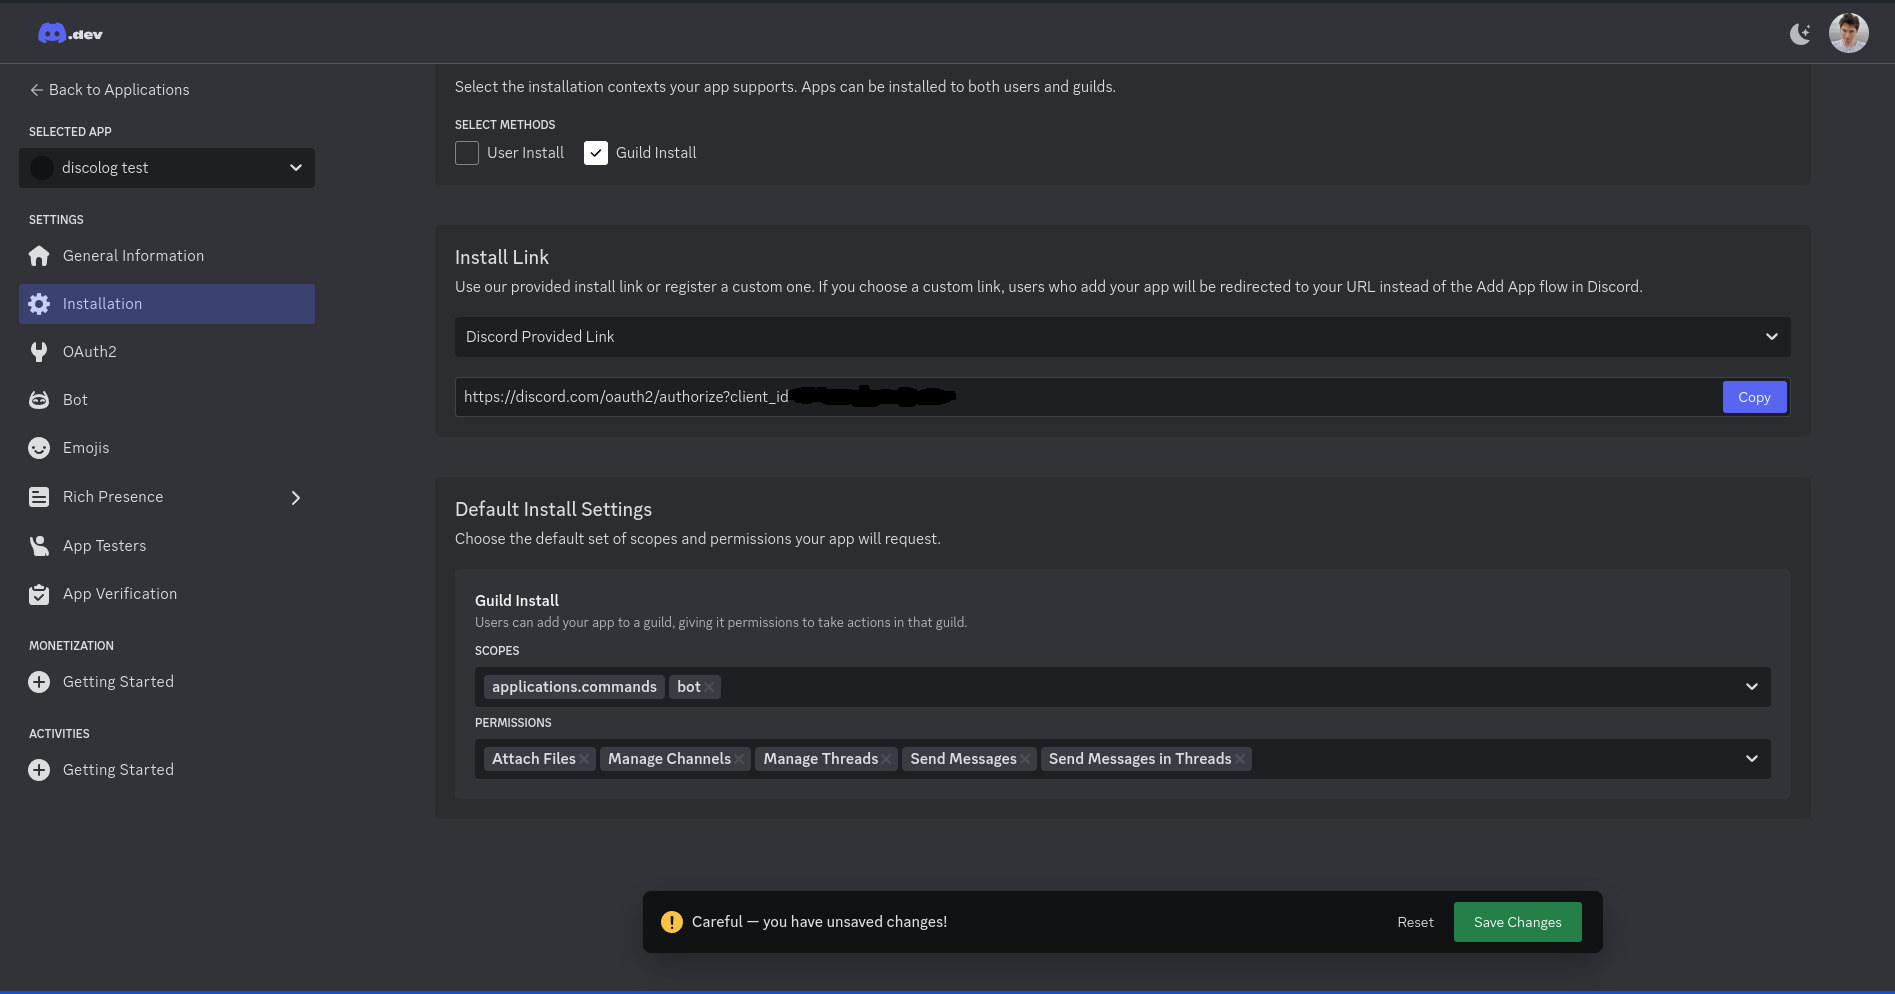
Go to the developers portal
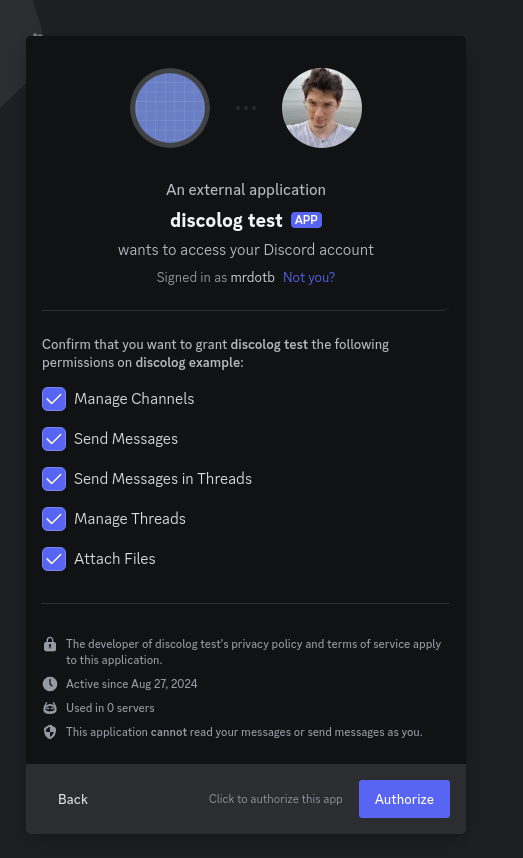
Disable User Install and add the scope bot and the permissions Attach Files, Manage Channels, Manage Threads, Send Messages, Send Messages in Threads
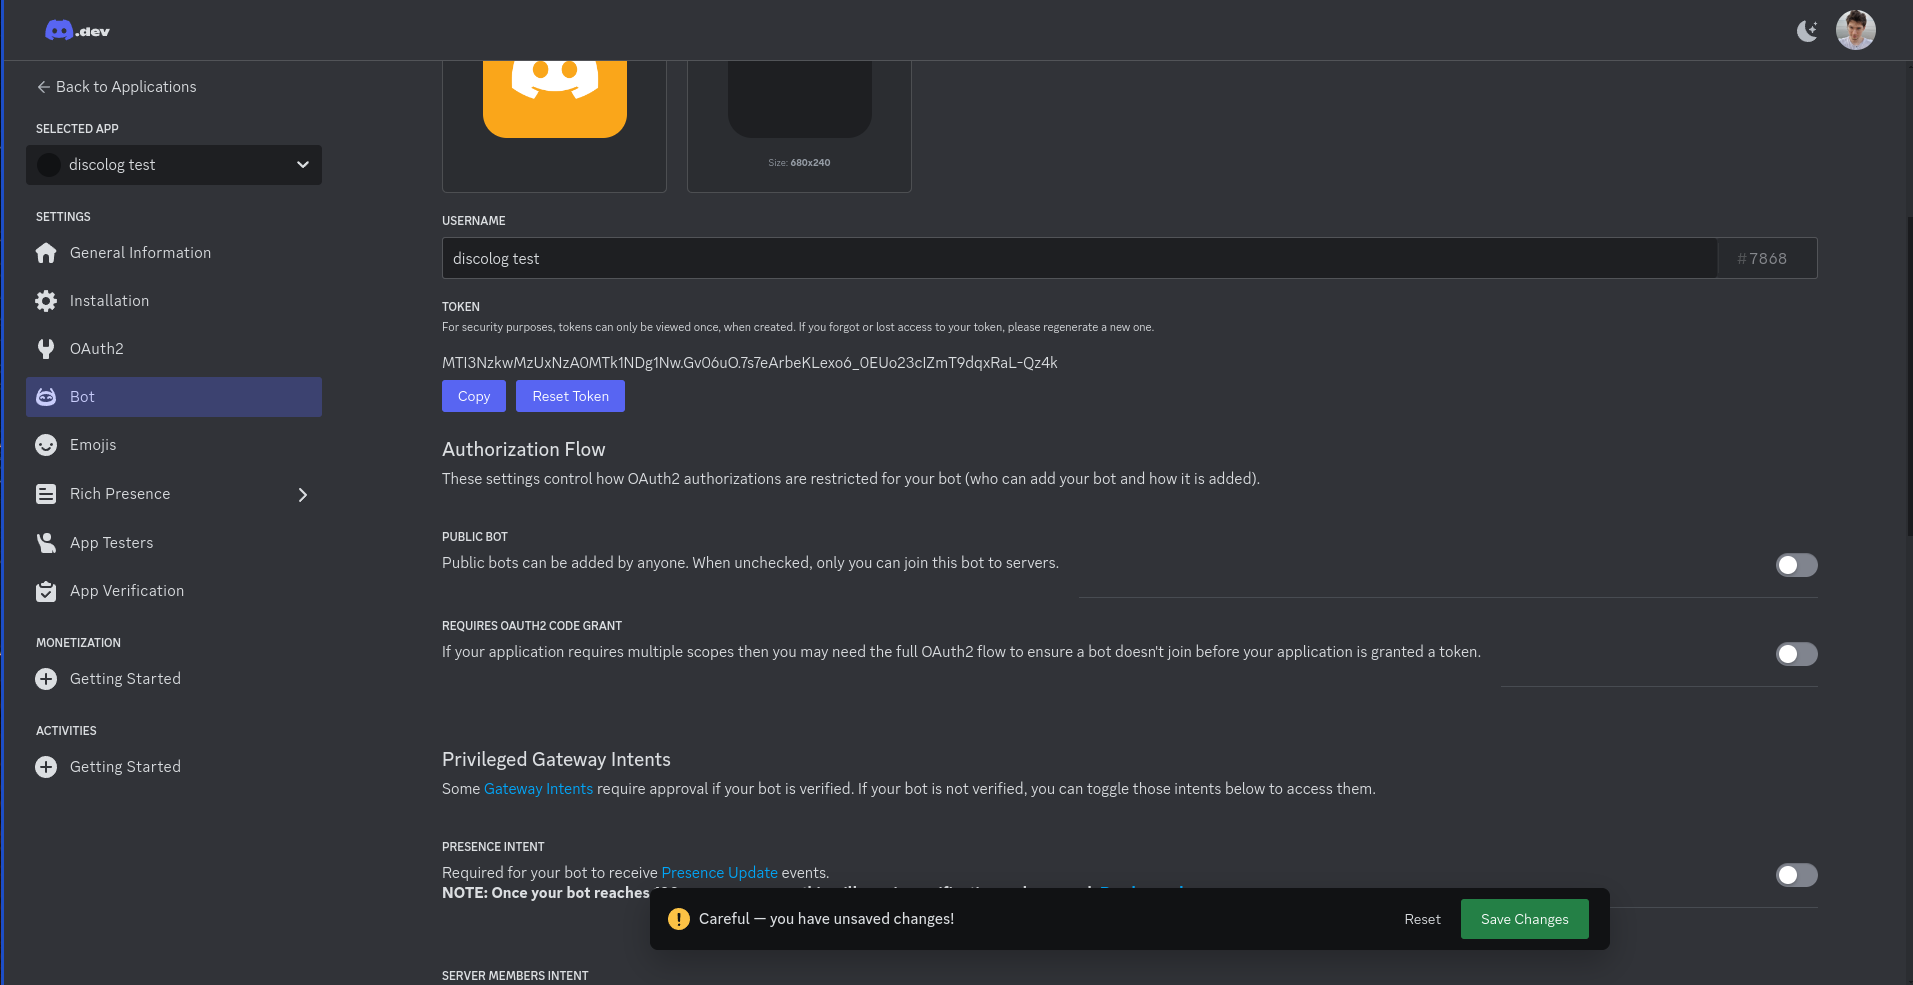
Generate and copy the bot token, it will be needed later
Go to the installation menu and open the installation link
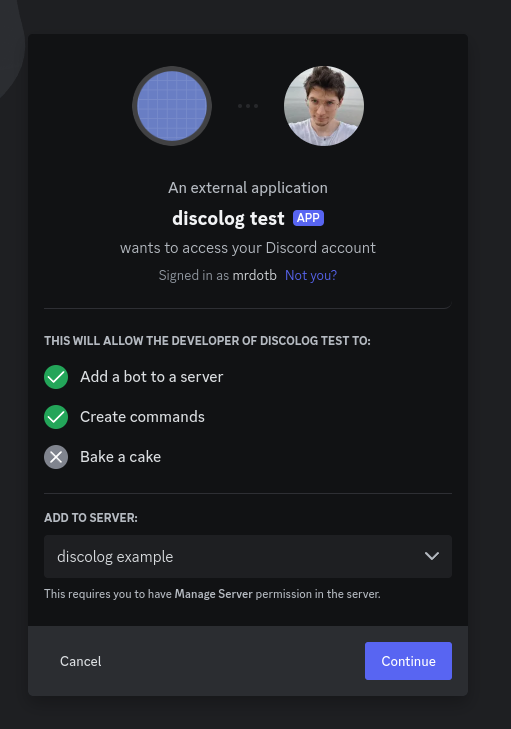
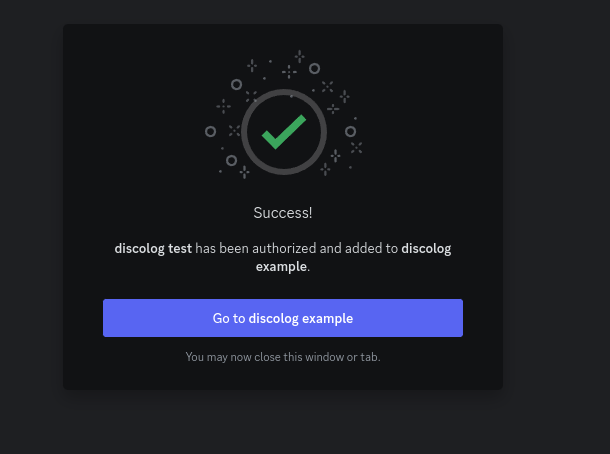
 Follow the steps
Edit your config/dev.exs and add the following configuration with the bot token and the server ID you copied earlier.
config :disco_log,
  otp_app: :app_name,
  token: "YOUR_BOT.TOKEN",
  guild_id: "YOUR_SERVER_ID"
Run the mix task
mix disco_log.createIt will create and output the rest of the necessary configuration for you. Use this configuration for your production environment or add it to your dev config if you want to test.
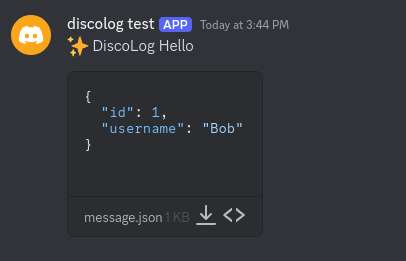
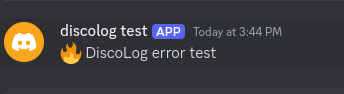
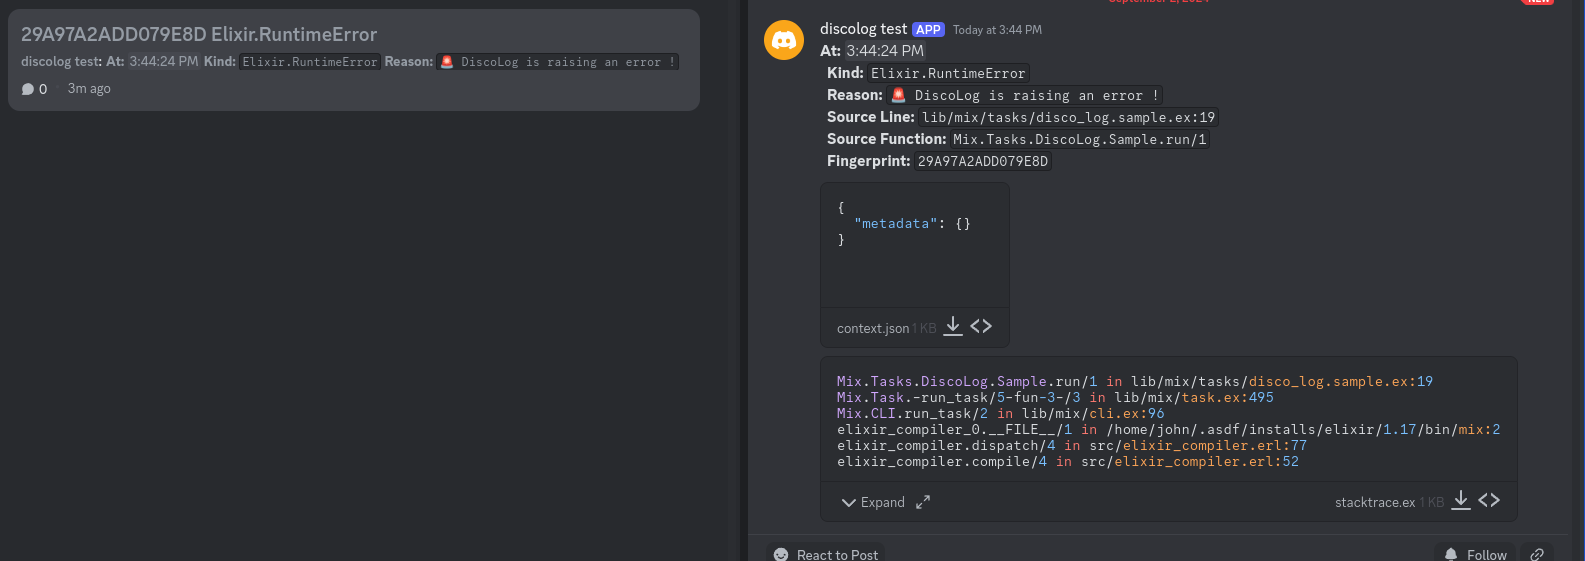
Confirm that everything is working smoothly by running the following mix command it will put a log in each channels.
mix disco_log.sampleHow it should look like
When you confirmed that the setup is working you should put this config to disable DiscoLog in dev.exs and test.exs env.
config :disco_log,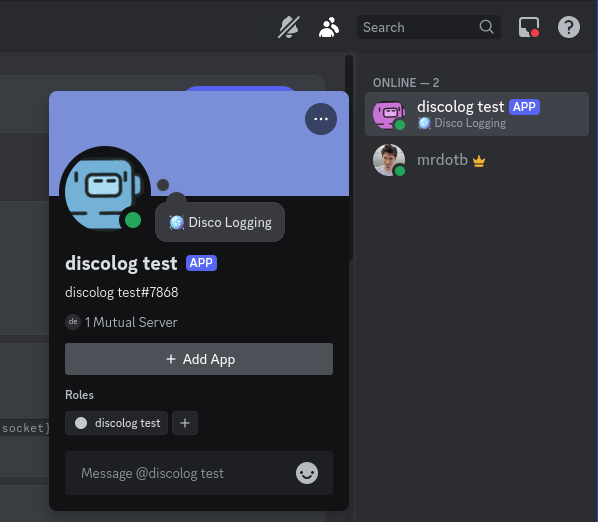
enable: falseDiscoLog can optionally set your bot's status to Online, allowing you to display a custom presence message.
-
Add the
mint_web_socketPackage
Update your dependencies inmix.exs:defp deps do [ {:disco_log, "~> 1.0.0"}, {:mint_web_socket, "~> 1.0"} ] end
-
Configure the Presence Settings
Add the following to yourconfig.exsorprod/config.exs:config :disco_log, enable_presence: true, presence_status: "🪩 Disco Logging" # Optional, defaults to this value
Bot with Presence
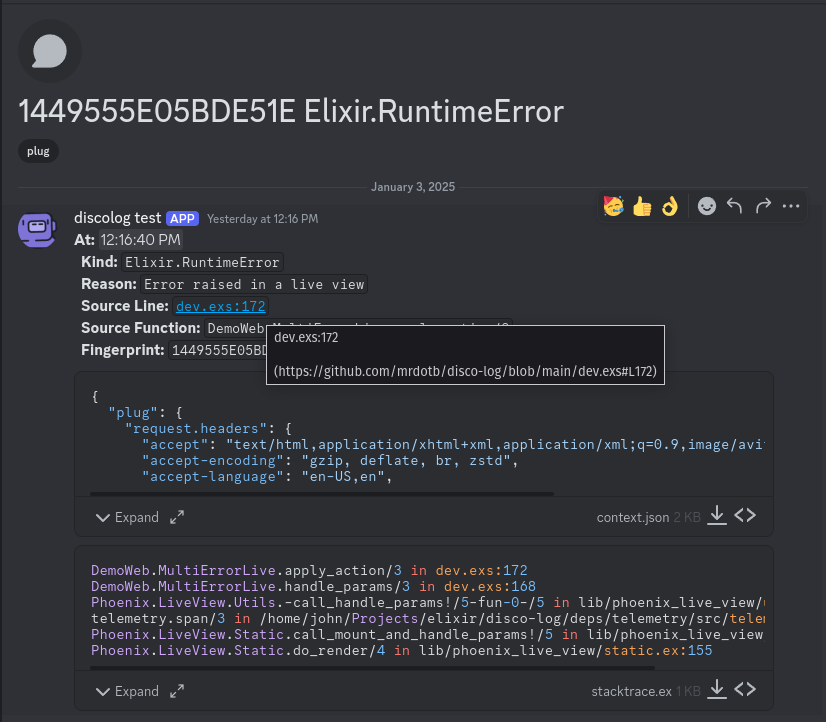
The Go to Repo feature allows DiscoLog to link directly to your code repository (e.g., GitHub). This enables users to easily access the specific version of the code related to a log entry.
Link to GitHub code
To enable this feature, add the following configuration to your prod/config.exs:
config :disco_log,
  enable_go_to_repo: true,
  go_to_repo_top_modules: ["DemoWeb"], # Optional, see notes below
  repo_url: "https://github.com/mrdotb/disco-log/blob",
git_sha: System.fetch_env!("GIT_SHA") # See notes on setting the GIT_SHA belowThe GIT_SHA should be the commit hash of the current code version. This ensures links reference the correct version of the code. Here’s how you can set it, depending on your deployment process:
If you build your release on your own machine, you can set the environment variable using this command:
GIT_SHA=`git rev-parse HEAD` MIX_ENV=prod mix releaseWhen building a Docker image, pass the GIT_SHA as a build argument:
Build Command:
docker build --build-arg GIT_SHA=`git rev-parse HEAD` .Dockerfile:
ARG GIT_SHA

# Set build environment variables
ENV MIX_ENV="prod"
ENV GIT_SHA=${GIT_SHA}In CI/CD environments (e.g., GitHub Actions), the GIT_SHA is often available as a predefined environment variable. You can pass it during the build process as follows:
Example GitHub Actions Workflow:
- name: Build and Push Docker Image to GHCR
  uses: docker/build-push-action@v5
  with:
    context: .
    push: true
    tags: ${{ steps.meta.outputs.tags }}
    labels: ${{ steps.meta.outputs.labels }}
    build-args: |
      BUILD_METADATA=${{ steps.meta.outputs.json }}
      ERL_FLAGS=+JPperf true
GIT_SHA=${{ github.sha }}- The
repo_urlconfiguration should point to the root of your repository's code (e.g.,https://github.com/<user>/<repo>/blob). - The
go_to_repo_top_modulesconfiguration is optional. Use it only if your project contains external modules within the repository.
Enjoy using DiscoLog!