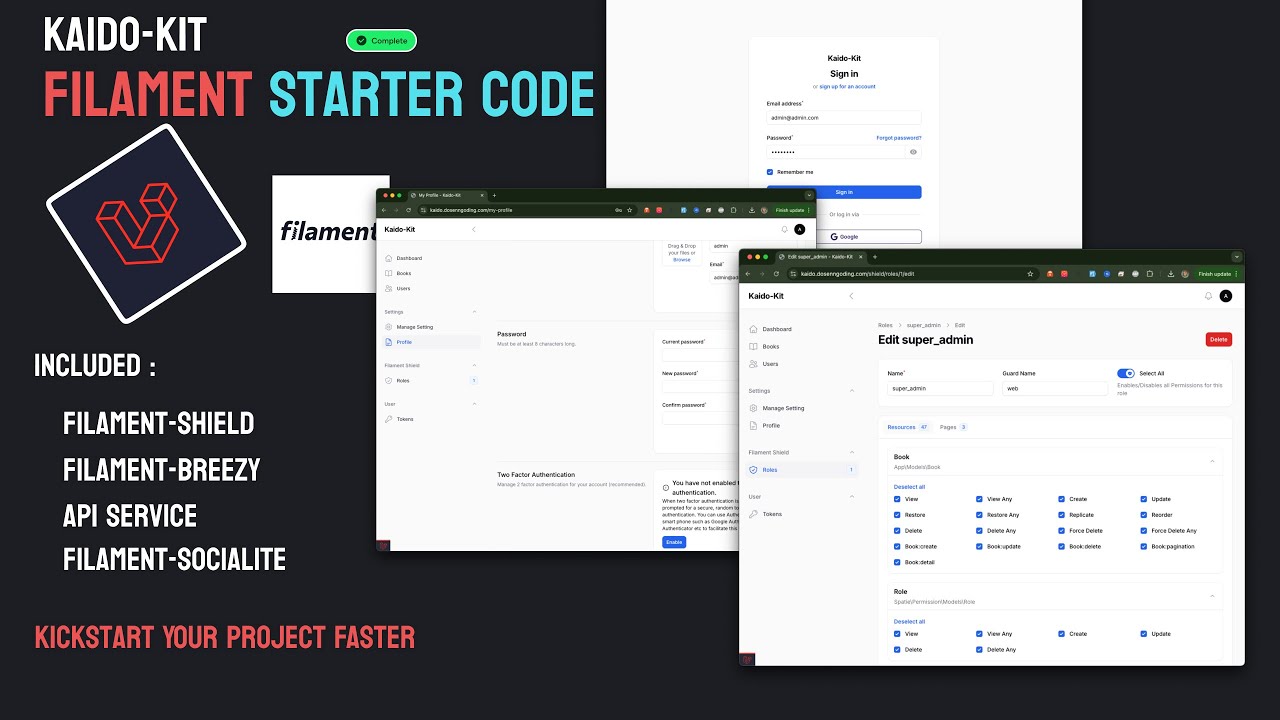
A powerful and opinionated FilamentPHP starter kit designed to accelerate your admin panel development. Kaido Kit provides a robust foundation with pre-configured plugins, configuration and best practices for building feature-rich admin interfaces.


- ⚡ Quick CRUD generation with customized FilamentPHP stubs
- Optimized UX out of the box
- No need to modify generated resources
- 🔄 Auto reload on save for rapid development
- 📚 Easy API documentation using Scramble
- 📤 Built-in Export and Import examples in Filament resources
- 🛡️ Role-Based Access Control (RBAC) using Filament Shield
- 🔑 Enhanced login page with custom design
- 🌐 Social login with Google via Filament Socialite
- 👤 User profile management with Filament Breezy
- 🔒 Instant 2-Factor Authentication capabilities
- 👥 Simple user-to-role assignment
- 🎭 User impersonation via Filament Impersonate
- 🚀 Full API support with Filament API Service
- Seamlessly integrated with Shield
- Ready-to-use API endpoints
- 📨 Email integration using Resend
- 📝 Auto-generated API documentation
- 🖼️ Integrated Filament Media Library
- Easy media handling process
- Spatie Media Library support
- 🎛️ Dynamic plugin management via Filament Settings
- Enable/disable features on the fly
- Spatie Laravel Settings integration
-
Create new project using composer
composer create-project siubie/kaido-kit
-
Composer install
composer install
-
Npm Install
npm install
-
Copy .env
cp .env.example .env
-
Configure your database in .env
DB_CONNECTION=mysql
DB_HOST=127.0.0.1
DB_PORT=3306
DB_DATABASE=kaido_kit
DB_USERNAME=root
DB_PASSWORD=
-
Configure your google sign in cliend id and secret (optional)
#google auth
GOOGLE_CLIENT_ID=
GOOGLE_CLIENT_SECRET=
GOOGLE_REDIRECT_URI=http://localhost:8000/admin/oauth/callback/google
-
Configure your resend for email sending (optional)
#resend
MAIL_MAILER=resend
MAIL_HOST=127.0.0.1
MAIL_PORT=2525
MAIL_USERNAME=null
MAIL_PASSWORD=null
MAIL_ENCRYPTION=null
RESEND_API_KEY=
MAIL_FROM_ADDRESS="[email protected]"
MAIL_FROM_NAME="${APP_NAME}"
-
Migrate your database
php artisan migrate --seed
-
Serve the Application
composer run dev -
If run successfully you will get this login interface

-
When signed in it will show this (not much yet but it getting there :) )

-
Next step is to setup the RBAC, first generate the role and permission
php artisan shield:generate --all
-
It will ask which panel do you want to generate permission/policies for choose the admin panel.
-
Setup the super admin using this command
php artisan shield:super-admin

-
Choose your super admin user and login again.


Set your app Debug to false in .env file
APP_NAME="Kaido-Kit"
APP_ENV=local
APP_KEY=base64:gWUd7RPrCZm6iu7qFddY3039BQLroNHJ0nqKcBr8eeA=
APP_DEBUG=false
APP_TIMEZONE=UTC
APP_URL=https://localhost:8000We welcome contributions! Please follow these steps:
- Fork the repository
- Create your feature branch (
git checkout -b feature/amazing-feature) - Commit your changes (
git commit -m 'Add some amazing feature') - Push to the branch (
git push origin feature/amazing-feature) - Open a Pull Request
- FilamentPHP
- Laravel
- All our amazing contributors
Give a ⭐️ if this project helped you!