-
-
Notifications
You must be signed in to change notification settings - Fork 251
Homebridge on Portainer
This guide provides step-by-step instructions to show you how to install Homebridge on Docker using Portainer.
- An Portainer setup on a Linux Host on the same network as your HomeKit clients
Homebridge will not work when running using Docker on macOS or Windows.
In Portainer, go to the Stacks tab, then click Add Stack:

Give your new stack a name, then paste the following into the Web Editor section:
version: '3'
services:
  homebridge:
    image: homebridge/homebridge:ubuntu
    container_name: homebridge
    restart: always
    network_mode: host
    environment:
      - HOMEBRIDGE_CONFIG_UI_PORT=8581
    volumes:
      - homebridge:/homebridge
volumes:
  homebridge:
Note:
- You can change
HOMEBRIDGE_CONFIG_UI_PORTto another port if you are already running something on port8581.
Click Deploy the stack.

The image will now download and the container will be created. This may take several minutes, please be patient.
The container is now setup and ready for use.
You can access the Homebridge UI using http://IP_ADDRESS:8581, replacing IP_ADDRESS with the IP of your Portainer server.
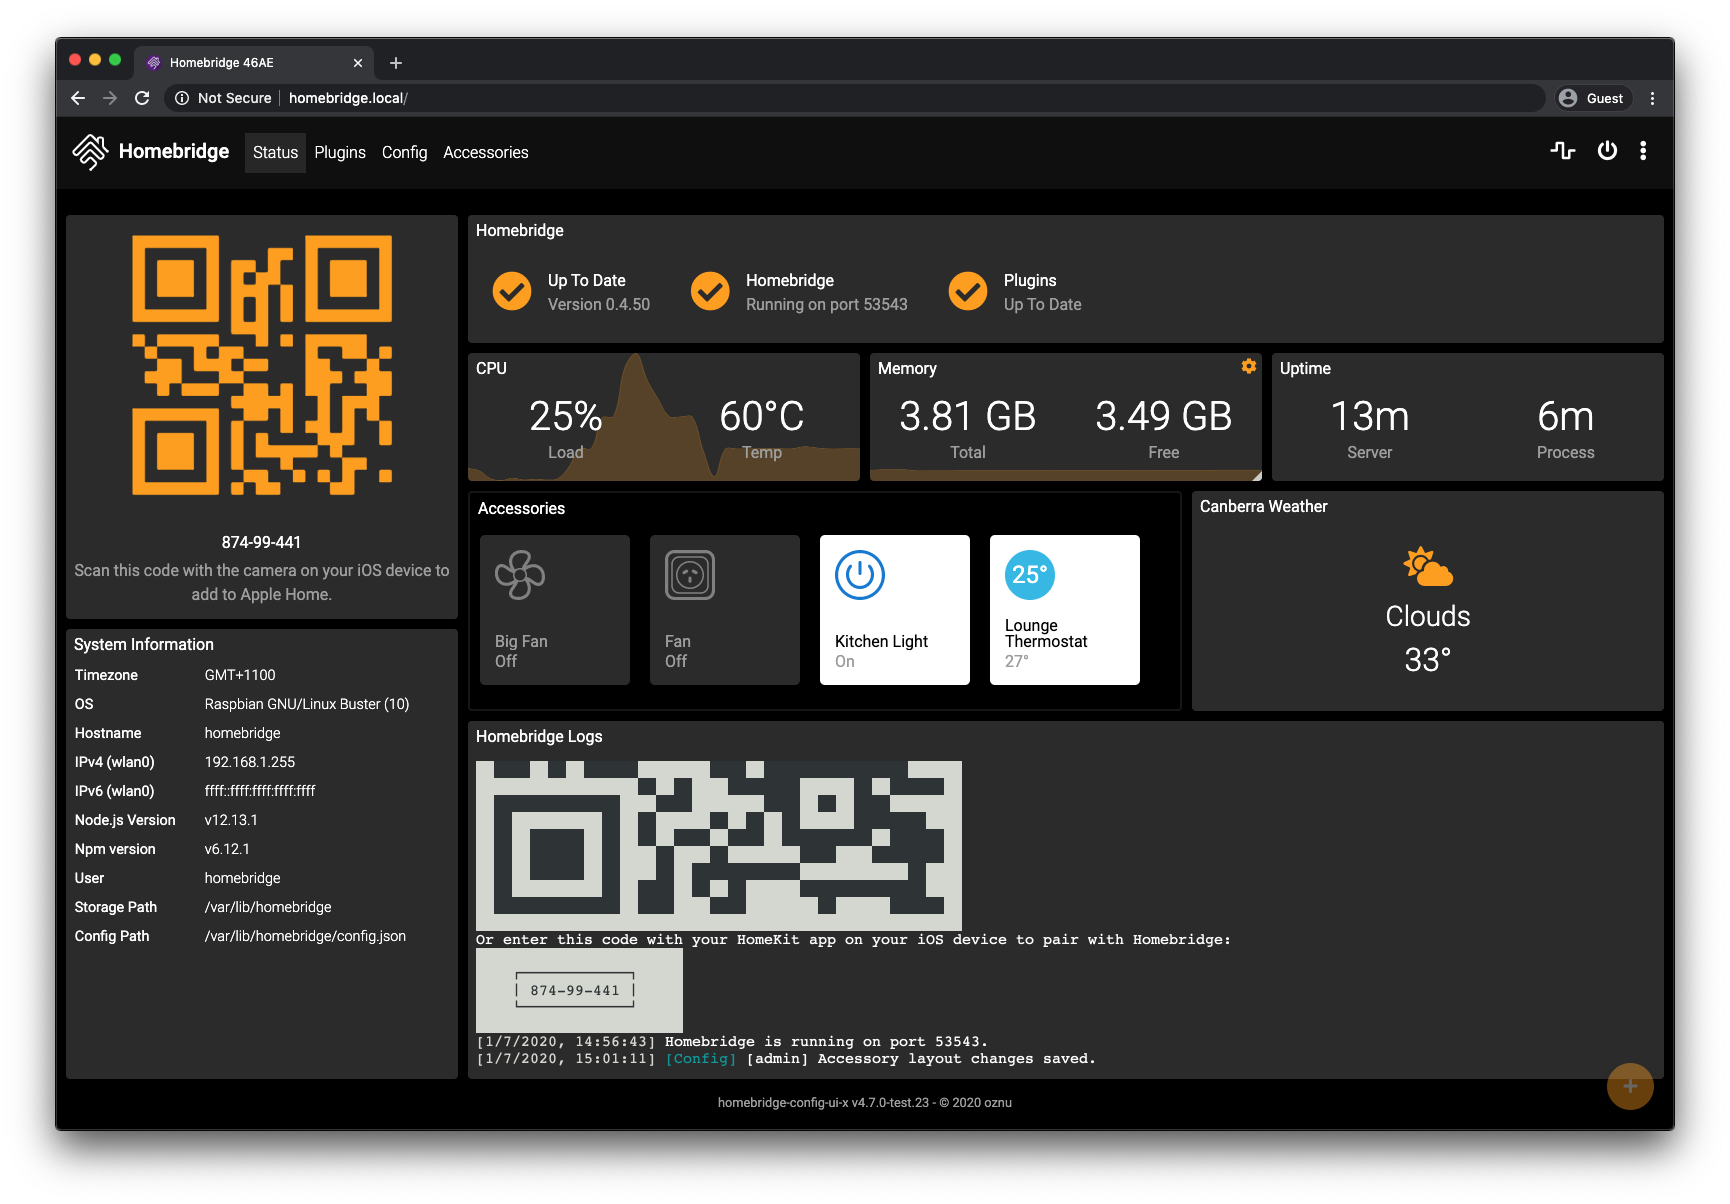
The Homebridge UI web interface will allow you to install, remove and update plugins, and modify the Homebridge config.json and manage other aspects of your Homebridge service.

This table contains important information about your setup. You can use the information provided here as a reference when configuring or troubleshooting your environment after setting up Homebridge using the instructions below.
| File Location / Command | |
|---|---|
| Config File Path |
/homebridge/config.json (inside container) |
| Storage Path |
/homebridge (inside container) |
| Restart Command | docker restart homebridge |
| Stop Command | docker stop homebridge |
| Start Command | docker start homebridge |
| View Logs Command | docker logs -f homebridge |