This is a port of the HomeAlarm project over to the micro-app framwork so that you can get the native look and feel on desktop and mobile devices with the micro-app-cordova-launcher and micro-app-electron-launcher projects.
This projects provides a home based alarm system using Node and MQTT. It provides a GUI that allows you to:
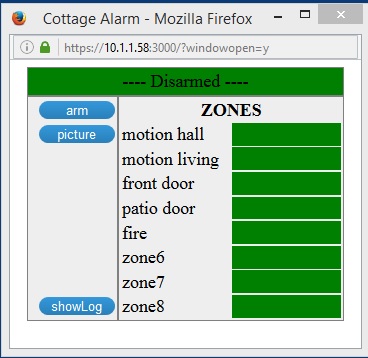
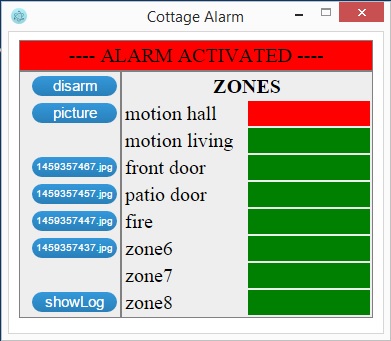
- arm/disarm the alarm
- see the status of the zones
- ask that a picture be taken
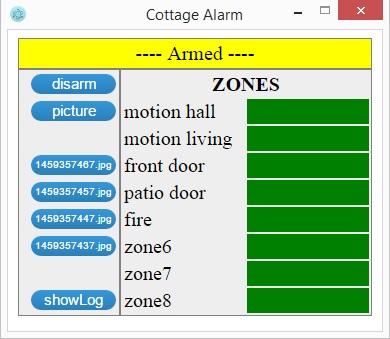
- view the last 4 pictures taken
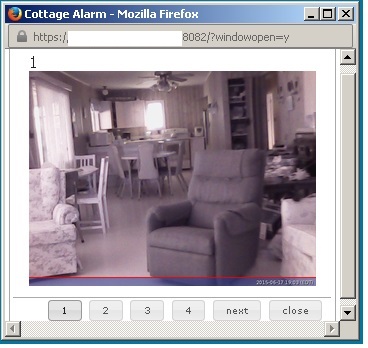
- view pictures from multiple cameras
- view the log of alarm events
When the alarm is triggered it will take pictures every 10 second for 5 minutes, pushing them to a remote webserver. It can also be configured to send sms messages to notify the owner than an alarm has occured.
In a browser:
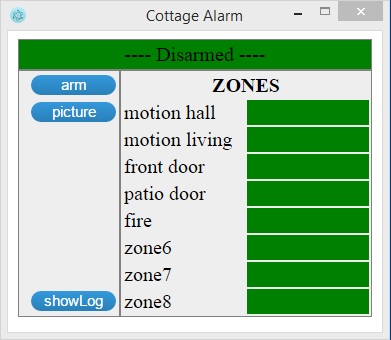
Native application:
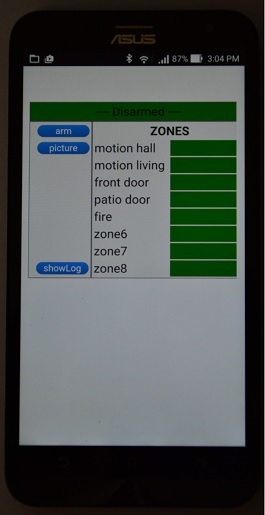
On a phone:
The following projects can be used to connect sensors such motion detectors, door contacts and webcams.
-
PI433WirelessRecvMananager or this less expensive project Mqtt433Bridge.
Additional views when alarm is active and triggered
View when using GUI to display pictures taken by camera
The server requires Node along with the modules defined in the package.json file to be installed.
It also requires:
- an mqtt server
- a remote webserver to serve up the pictures taken
- twillio account (If you want SMS notifications)
Most configuration is done in the config.json file which supports the following configuration options:
- title - title used to name the page for the app
- alarmSite - Name assigned to this instance of the alarm
- serverPort - port on which micro-app is listening for connections
- tls - set to the string "true" if you want to force tls when connecting
- authenticate - set to "true" to enable basic authentication. If set to true then you must provide the "authInfo" values described below
- scrollBars - set this to "true" so that you can scroll when viweing the log file
- authInfo - object with username, password and realm values. authInfo.password is the hashed password that will be used to authenticate to the micro-app. This can be generated with the utility in the micro-app framework which is called: .../node_modules/micro-app-framework/lib/gen_password.js. The first parameter is the password to be hashed.
- mqtt - object with serverUrl, rootTopic and certsDir. If the serverUrl uses tls (ex mqtts: then certsDir must contain the required certificates etc. needed to connect to the mqtt server using tls)
- zone - array objects, each of which specifies the topic, zoneId and label for one of the alarm zones
- camera - object with topic used to communicate with the camera server and topics and messages used to communicate with an IR illuminator (see https://github.com/mhdawson/PI433WirelessTXManager for the circuit used to turn on/off the power supply for the IR illuminator)
- eventLogPrefix - directory in which log for alarm will be written
- notify - configuration for notification options
- mqttSmsBridge - element with the following sub-elements:
- enabled - set to true if you want notifications to be sent using this provider.
- serverUrl - url for the mqtt server to which the bridge is connected.
- topic - topic on which the bridge listens for notification requests.
- certs - directory which contains the keys/certs
required to connect to the mqtt server if the
url is of type
mqtts.
- voipms - element with the following sub-elements:
- enabled - set to true if you want notifications to be sent using this provider.
- user - voip.ms API userid.
- password - voip.ms API password.
- did - voip.ms did(number) from which the SMS will be sent.
- dst - number to which the SMS will be sent.
- twilio - element with the following sub-elements:
- enabled - set to true if you want notifications to be sent using this provider.
- mqttSmsBridge - element with the following sub-elements:
For example this is my configuration file with some key elements masked out:
{
  "title": "Cottage Alarm",
  "alarmSite": "Home",
  "serverPort": 3000,
  "tls": "true",
  "authenticate": "true",
  "scrollBars": true,
  "authInfo": {"username": "alarm", "password": "XXXXXXXXXXXXXXXXXXXXXXXXXXXXXXXXXXX", "realm": "alarm"},
  "mqtt": { "serverUrl": "mqtts:XXXXXXXXX:8883",
            "rootTopic": "house",
            "certsDir": "./certs" },
  "webserverUrlForPictures": "https:XXXXXXXXXX:XXXXX",
  "zones": [ { "topic": "house/2262/1", "zoneId": 3, "label": "front door" },
             { "topic": "house/2262/2", "zoneId": 4, "label": "patio door" },
             { "topic": "house/2262/3", "zoneId": 2, "label": "motion living" },
             { "topic": "house/2262/4", "zoneId": 1, "label": "motion hall" },
             { "topic": "house/2262/5", "zoneId": 5, "label": "fire" }
           ],
  "camera": { "topic": "house/camera",
              "IRtopic": "home/2272",
              "IRon": "FFFFFFF11000",
              "IRoff": "FFFFFFF10000" },
  "eventLogPrefix": "/home/user1/repos/micro-app-home-alarm",
  "notify": {
    "mqttSmsBridge": { "enabled": true,
                       "serverUrl": "your mqtt server",
                       "topic": "house/sms" }
  }
}
The easiest way to install is to run:
npm install micro-app-home-alarm
and then configure the default config.json file in the lib directory as described in the configuration section above.
Simply cd to the directory where the npm was installed and type:
npm start
As a micro-app the micro-app-alert-dashboard app depends on the micro-app-framework:
See the documentation on the micro-app-framework for more information on general configurtion options that are availble (ex using tls, authentication, serverPort, etc)
The micro-app-notify-client is used to send notifications through sms and other means when necessary.
- Add more doc on how to configure, setup and run, including the required mqtt server
