-
Notifications
You must be signed in to change notification settings - Fork 103
Code generation
Code generation is one of the most wanted features in the Magento community. There is a bunch of existing open-source solutions, however, generating code using the IDE seems to be the most convenient way to go. Therefore several actions were created to help with common Magento 2 customizations. This list will be extended in the future. All templates used for generation can be found and edited in Preferences/Settings | Editor | File and Code Templates. To use this functionality you need to right-click on the module directory (some items are available for other dirs) and select a needed item in the context menu.
New Magento 2 modules can be created from the context menu or by pressing Ctrl(⌘)+N.

This should be useful for extension developers. When the project is created, the IDE suggests selecting the PHP version and suggests including the Magento source code to PHP including paths.

The action creates a plugin class method along with a plugin declaration record in di.xml in the scope of the specified module and area; a plugin class and di.xml are created if needed.

The action creates a class along with a preference declaration record in di.xml in the scope of the specified module and area.

New observers can be created from the context menu. Just right-click on the event name and specify the module, area, and observer name.


The action for adding a view model to a block and a reference block from the context menu.

The action for copying a view file to the appropriate place in a custom place.

The action for creating a UI Component Grid (Listing).

Action creates the following files:
- Action Controller PHP Class
- menu.xml
- routes.xml
- acl.xml
- Data Provider PHP Class
- Layout file
- UI component file
Example of filling out the form:

Result:

The action for creating a UI Component Form.

Action creates the following files:
- Buttons PHP Classes
- Save Action Controller PHP Class
- View Action Controller PHP Class
- routes.xml
- acl.xml
- Data Provider PHP Class (or di.xml declaration)
- Layout file
- UI component file
Example of filling out the form:

Result:

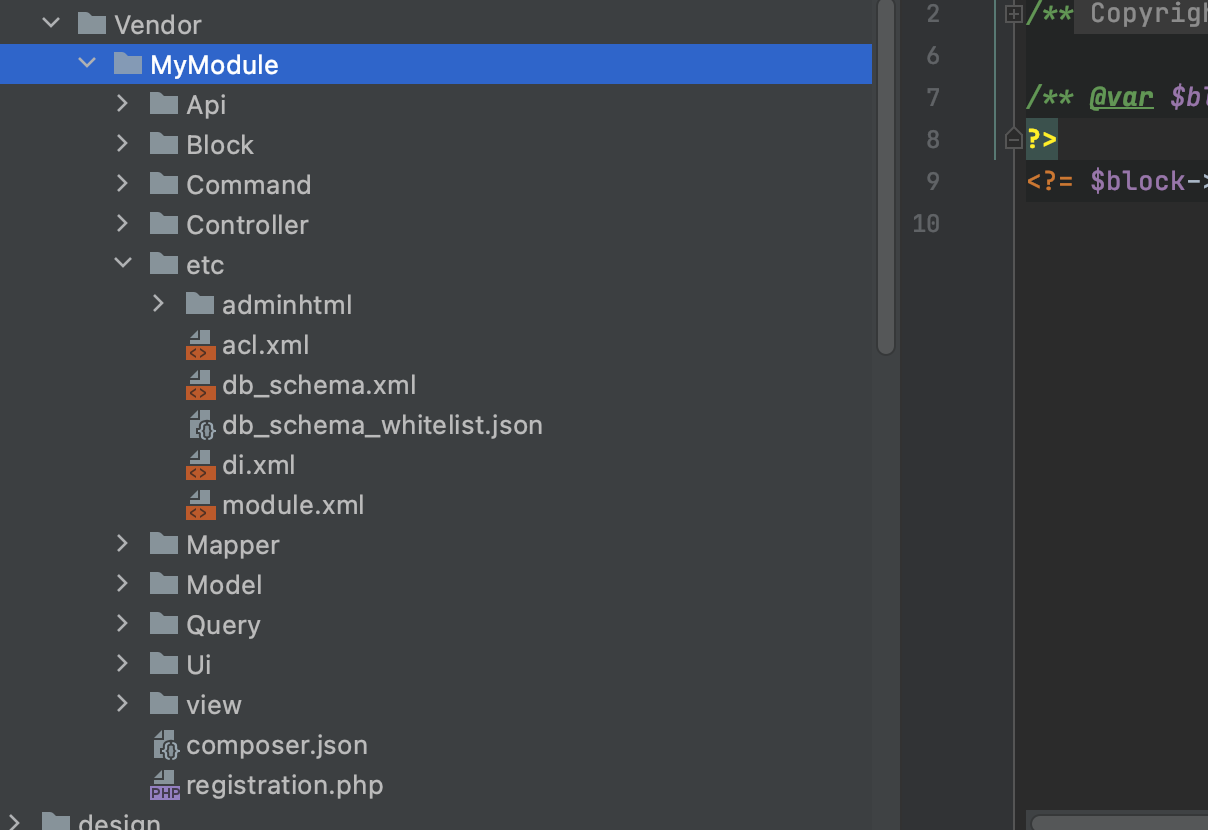
The action for adding the whole infrastructure for CRUD.
- Create a new module e.g.
Vendor_MyModule.

- Open the context menu (right-click to the module directory).
Click to
New -> Module File -> Magento 2 Entity.

- Specify the Entity Name, DB table name, and ID field name. Select the
Create Admin UI Componentscheckbox.

- Go to the
Admin UI Componentstab. Check whether all inputs are filled correctly.

- Go to the
ACLtab. Check inputs here as well.

- Go to the
Menutab. Chose the correct parent menu and specify the sort order.

- Go to the
Propertiestab. Add needed properties (Entity ID added by default).

- Click the
Okbutton to get all files generated.

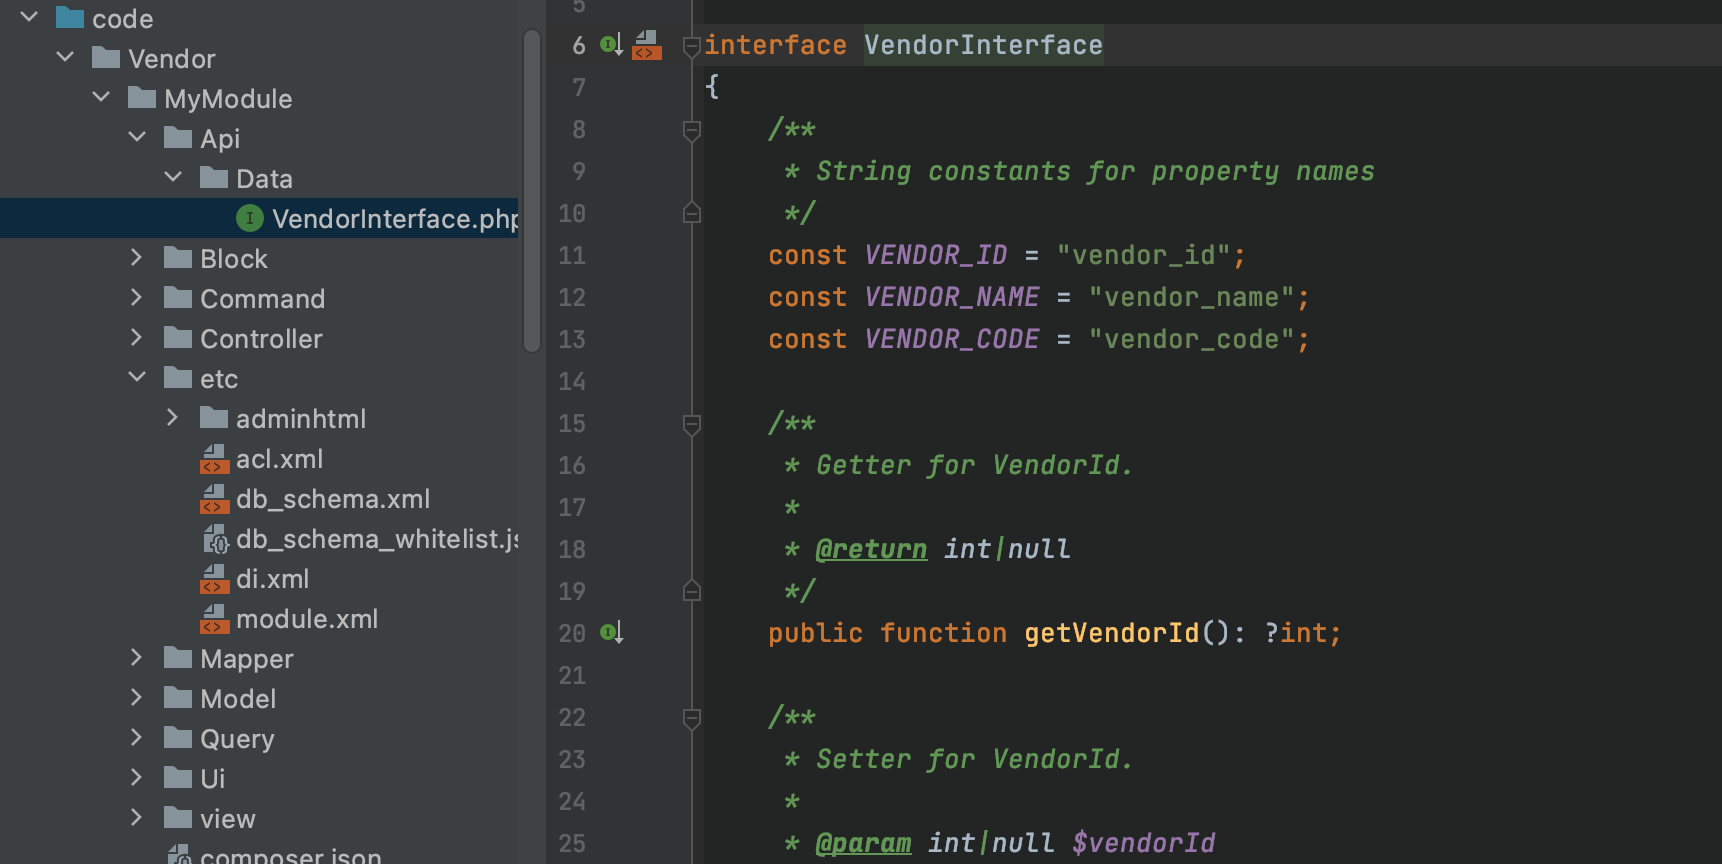
- Check files (e.g data interface)

- Run
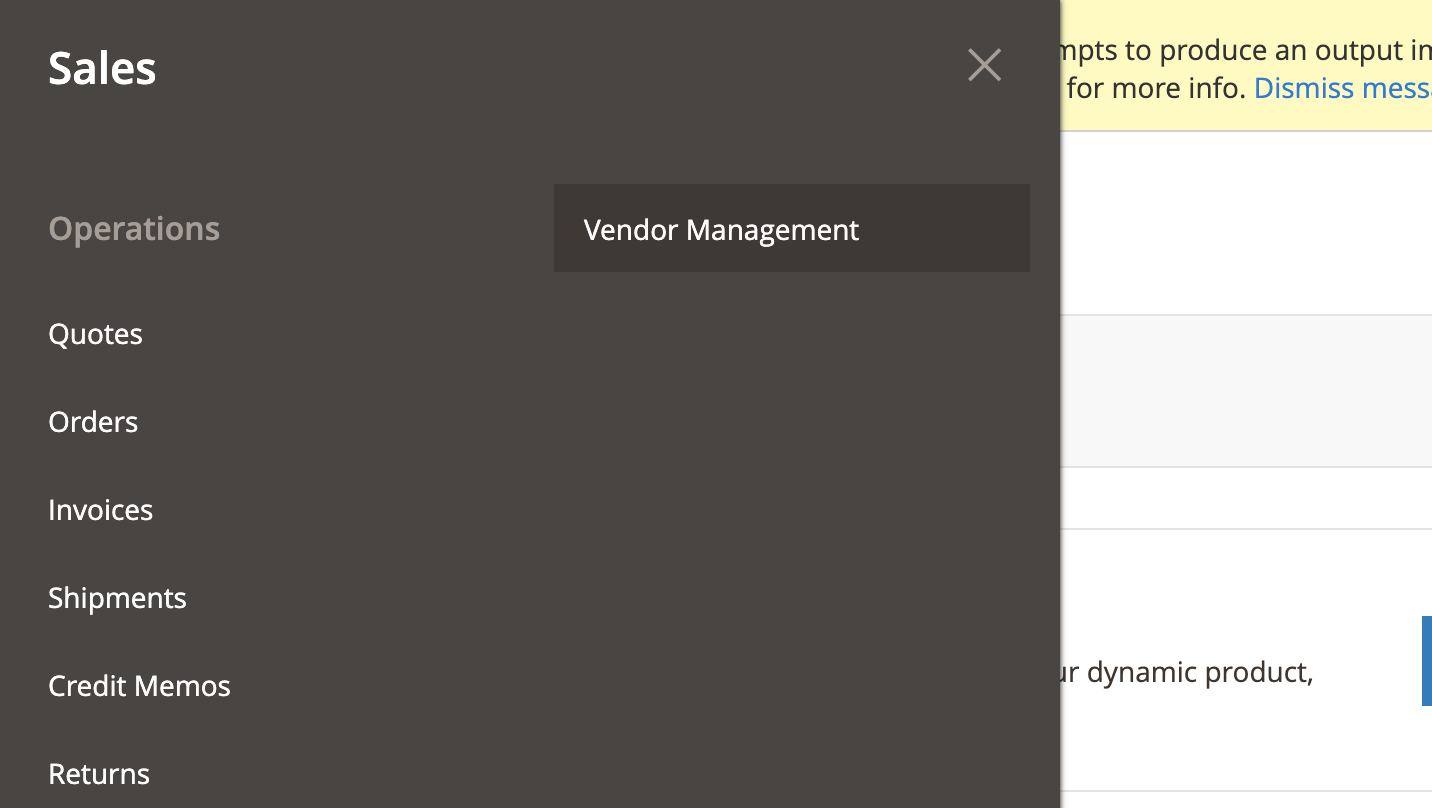
php bin/magento setup:upgrade. A new menu item should be accessible in the admin panel.

- Click on the menu item to get to the newly added listing.

- Click on the
Add Newbutton to get to the create/edit form.

- Specify data and save the entity

Your entity is ready for extension. Enjoy!
The action for adding Email Template files from the context menu.


Added context action for the layout.xml file generation


Context action for the indexer.xml file generation


New plugin methods can be created from the context menu (generate...) or by pressing Ctrl(⌘)+N.

